In Siit, you can use answers submitted through a service form to automatically trigger workflows. This allows you to route requests, trigger actions, and automate processes based on the requester’s input, without any manual intervention.
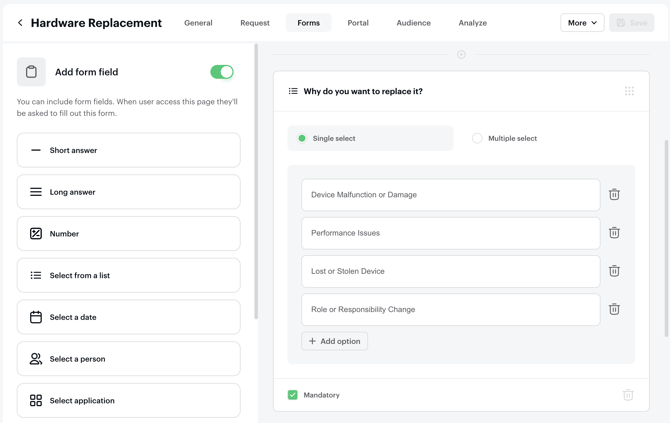
This would require to have custom forms set up at the services level as for example for the Hardware Replacement service below:
Step 1 — Create a workflow with the right trigger
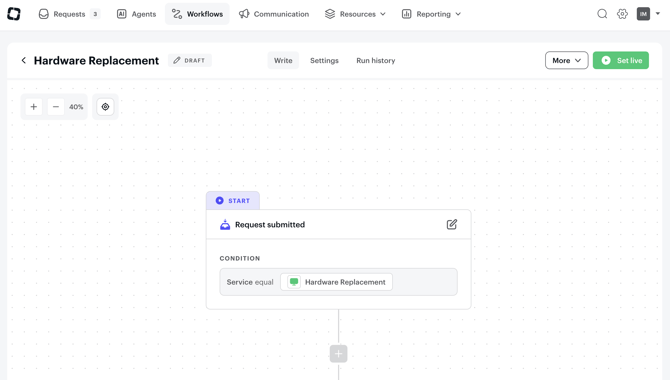
To use form responses in your automation, start by creating a workflow using the “Request submitted” trigger.
Make sure this trigger is linked to the relevant service (the one where your form is configured).
👉 This ensures the workflow will run every time a request is submitted through that specific service.
Step 2 — Add branches based on form responses
Once your workflow is created, you can define different paths using branches.
Each branch corresponds to one or several answers provided in the service form.
For example:
-
If the requester selects “Performance Issues” in the Hardware Replacement form → set priority level to High
-
If the requester selects “Lost or Stolen Device” → set priority level to Urgent
-
If another issue type is selected → route the request to the appropriate team or queue
In the workflow builder, you can define conditions such as:
-
Field equals a specific value
-
Field contains a value
-
Multiple conditions combined together
This allows you to create powerful and flexible logic tailored to your internal processes.
Step 3 — Define the actions for each branch
Once your branches are set, define the actions that should run for each scenario.
Depending on your setup, actions can include:
-
Assigning the request to a specific team or inbox
-
Triggering approval steps
-
Executing automated actions (Okta, Google, etc.)
-
Sending notifications
-
Updating fields or statuses
Each branch can have its own set of actions, allowing you to fully automate different request types within a single workflow.
Step 4 — Set your workflow live
Once everything is configured, you can set your workflow live.
From that point on, every new request submitted through the service will:
-
Trigger the workflow
-
Be evaluated based on the form responses
-
Automatically follow the corresponding branch and actions
Best practices
To get the most out of this setup:
-
Use clear and structured form fields (dropdowns, predefined options, etc.)
-
Avoid free-text fields when you need to trigger automation
-
Keep your workflows readable by using well-named branches
-
Test your workflow with a few sample requests before going live
By using form responses as workflow triggers, you can significantly reduce manual work, improve response times, and ensure consistent processes across your organization.