What this guide will help you achieve
By the end of this article, you will understand:
-
How the Jira / JSM integration works conceptually
-
What must be configured in Siit
-
What must be verified in Jira
-
How to properly map Services and Custom Fields
-
How to handle mandatory fields
-
Best practices to avoid common configuration issues
This guide is designed for teams who want to:
-
Create requests in Siit
-
Escalate selected requests to Jira or Jira Service Management
-
Ensure data is properly synchronized between both systems
How the Jira Integration Works (Conceptual Overview)
Before configuring anything, it’s important to understand the logic.
The Direction of the Integration
The integration is Siit → Jira
-
A request is created in Siit (via Slack, Teams, or Portal)
-
The request is categorized using:
-
Category
-
Service
-
Form fields
-
-
The request is escalated to Jira:
-
Manually (from the request)
-
Automatically (via a Workflow action)
-
-
A Jira issue is created in the selected Project
-
Selected fields are mapped and synchronized
Important Distinction: Project vs Service vs Offering
Many configuration challenges come from misunderstanding these layers:
| In Siit | In Jira |
|---|---|
| Inbox | Project |
| Service | Issue Type (or Offering) |
| Form Fields | Custom Fields |
⚠️ What employees see in the Jira portal is not necessarily the internal Jira field structure.
Field mapping must be based on the actual Jira issue fields, not only the employee-facing form.
Step 1 — Connect Jira to Siit
In Siit
-
Go to Settings → Integrations Library
-
Select Jira Service Management
-
Enter:
-
Your Jira domain
-
Your Jira login email
-
Your Jira API key
-
-
Click Submit
Siit is now connected.
Step 2 — Structure Your Services in Siit
Objective
Create Services in Siit that represent the types of requests that may be escalated to Jira.
Example
If Jira has Issue Types such as:
-
Equipment Issue
-
Password Resset
-
Software Need
Then in Siit, you should create corresponding Services:
-
Equipment Issue
-
Password Resset
-
Software Need
👉 Services should mirror the Jira Issue Types you plan to use.
Why this matters
The cleanest way to map to Jira Issue Types is to:
-
Map the Siit Service
-
To the Jira Issue Type field
This ensures that when a request is escalated, it lands in the correct structure in Jira.
Step 3 — Map Services to Jira Issue Types
Objective
Ensure that selecting a Service in Siit automatically sets the correct Issue Type in Jira.
How to configure it
-
Go to Settings → Integrations → Jira
-
Open Field Mapping
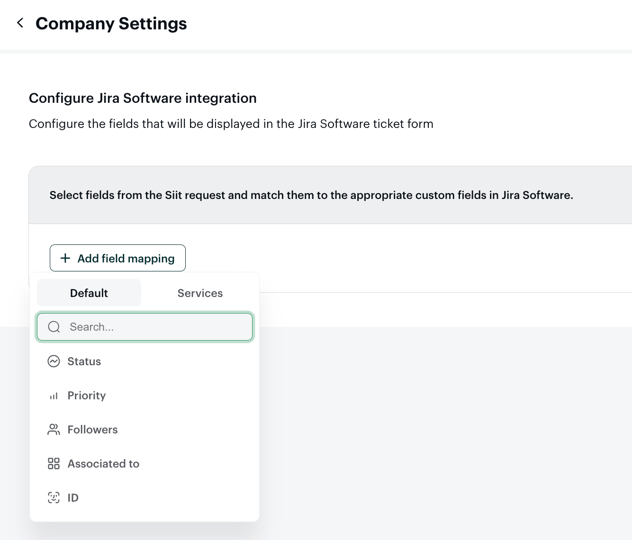
-
Select:
-
Siit Field: Associated to (Service)
-
Jira Field: Issue Type
-
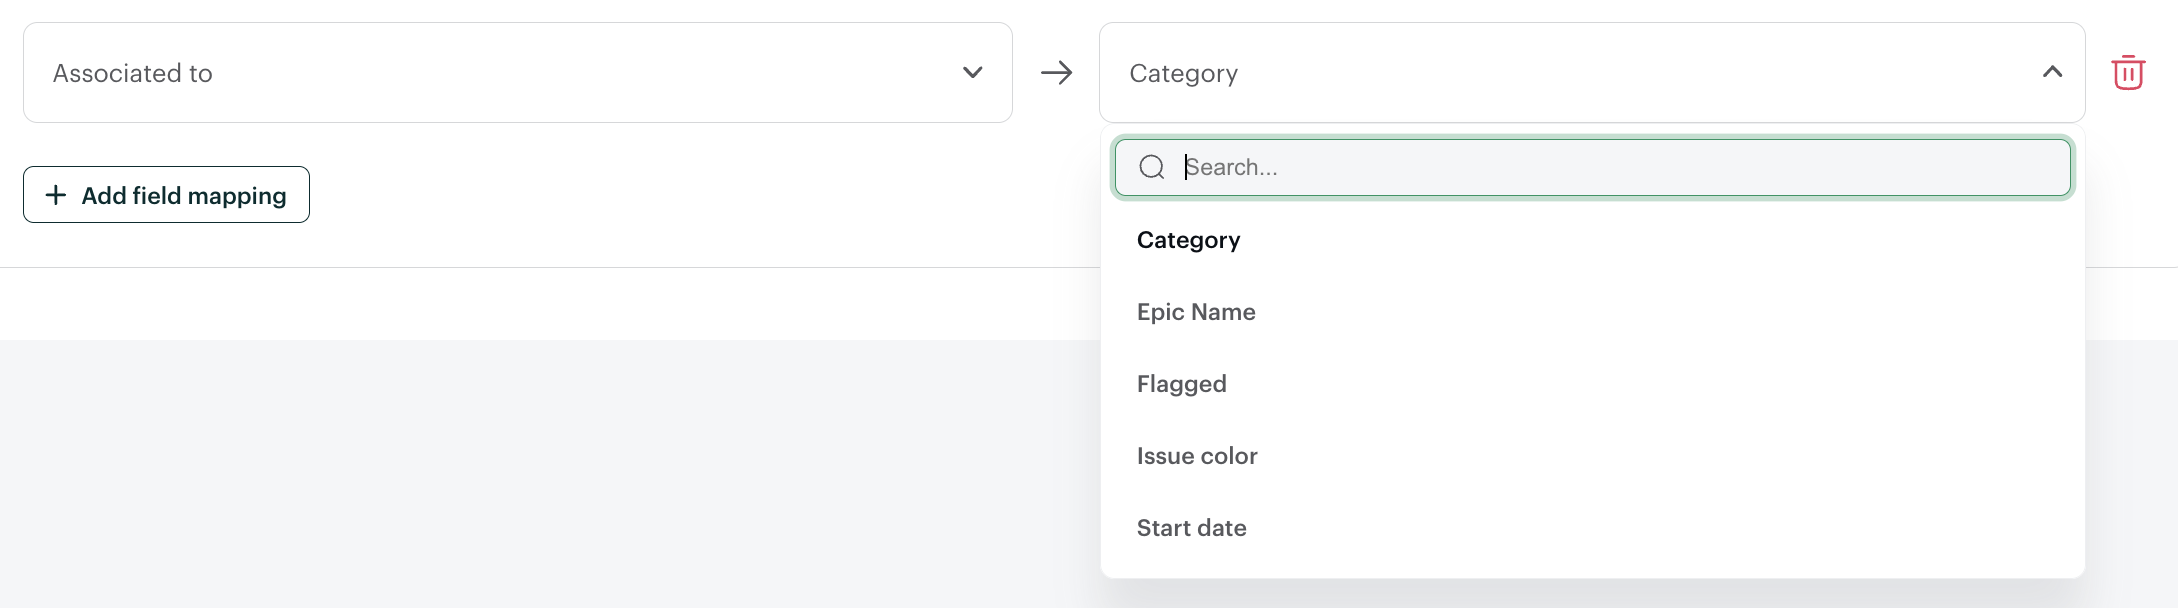
⚠️ Important:
The value names must match exactly between Siit and Jira.
If the Jira Issue Type is named:Customer Refund
The Siit Service should also be:Customer Refund
Step 4 — Mapping Custom Fields (Mandatory Fields Included)
Objective
Ensure all required Jira fields are populated when a ticket is created.
If Jira has mandatory fields (for example):
-
Company Code
-
Cost Center
-
Department
-
Category
You must map them from Siit.
Important: Identify the Real Jira Field
Do not rely only on what is visible in the Jira employee portal.
Instead:
-
Open an existing Jira issue
-
Look at the right-side issue details panel
-
Identify the actual internal field name
-
Confirm with your Jira admin if needed
Some fields:
-
May be renamed for display
-
May be linked to another system field
-
May be custom fields from CMDB or Finance modules
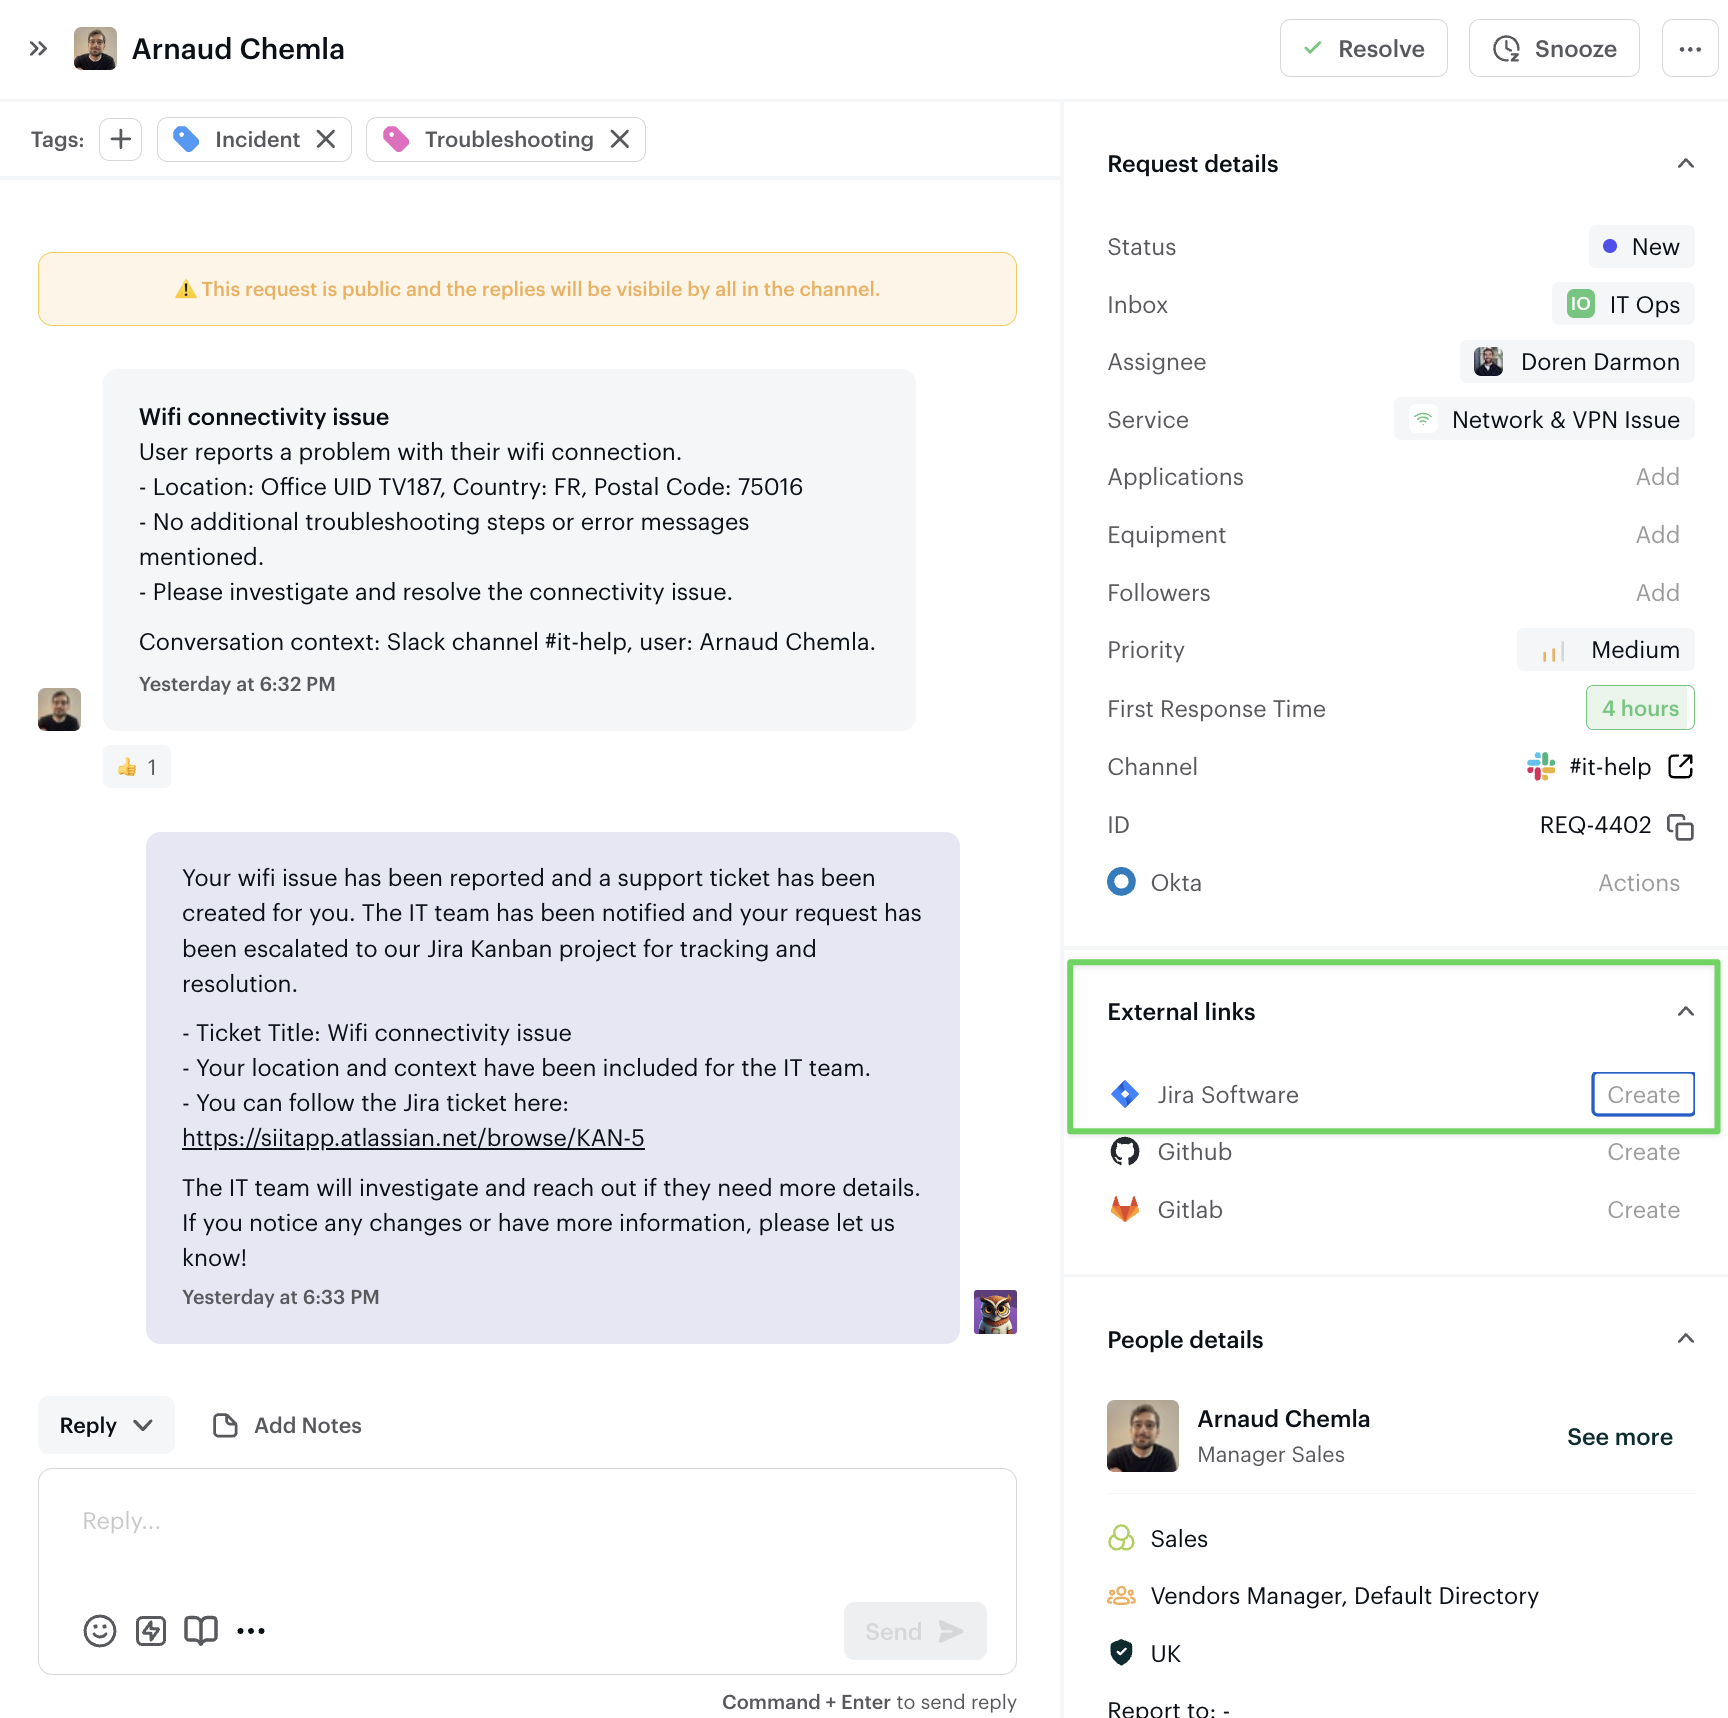
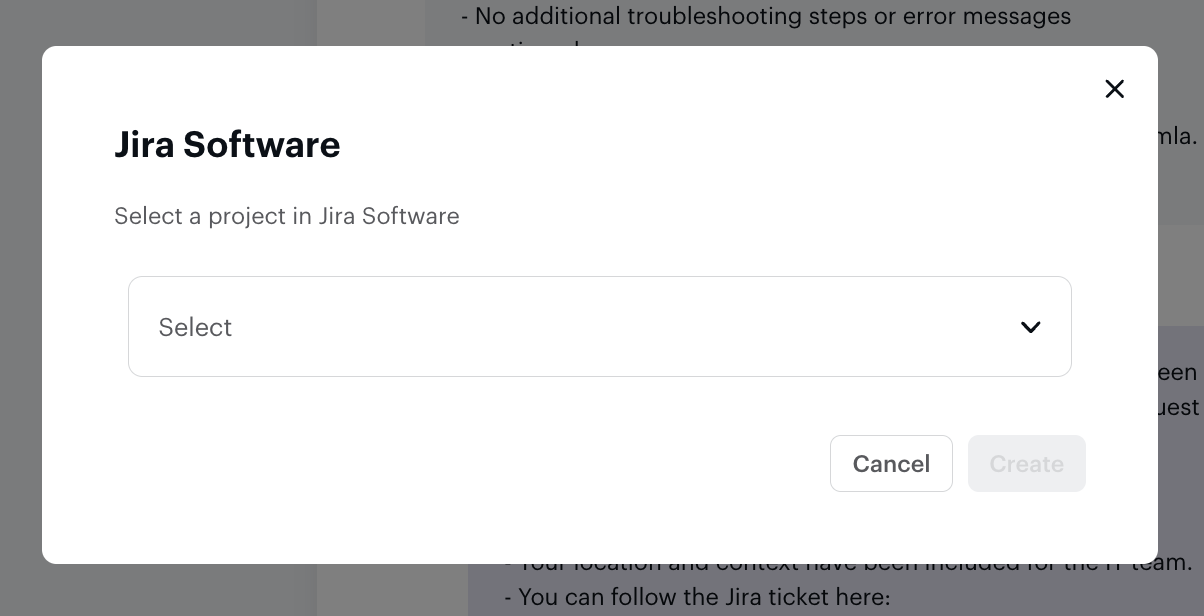
Step 5 — Escalation: Manual vs Automatic
Manual Escalation
From inside a request:
-
Click Jira Service Management
-
Click Create
-
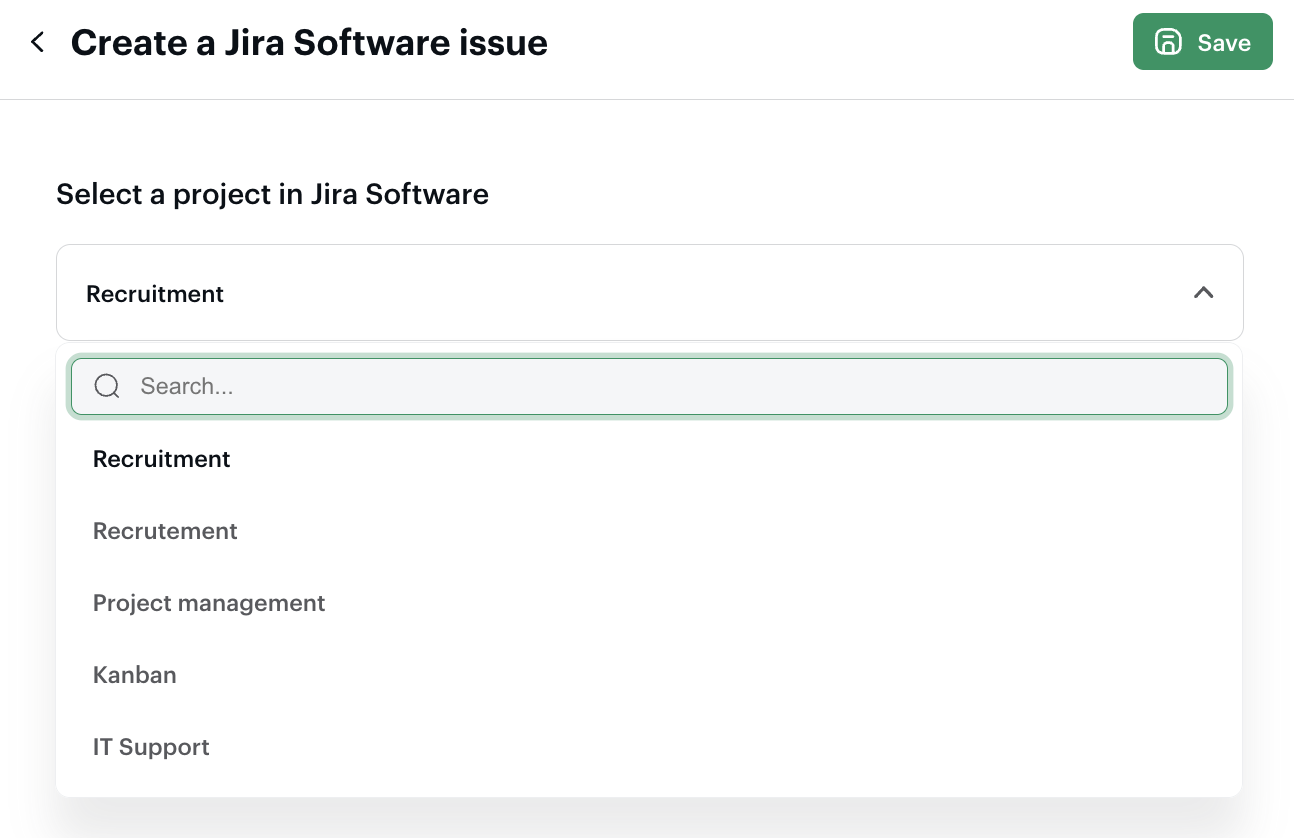
Select Project
-
Confirm
Best for:
-
Occasional escalations
-
Case-by-case validation
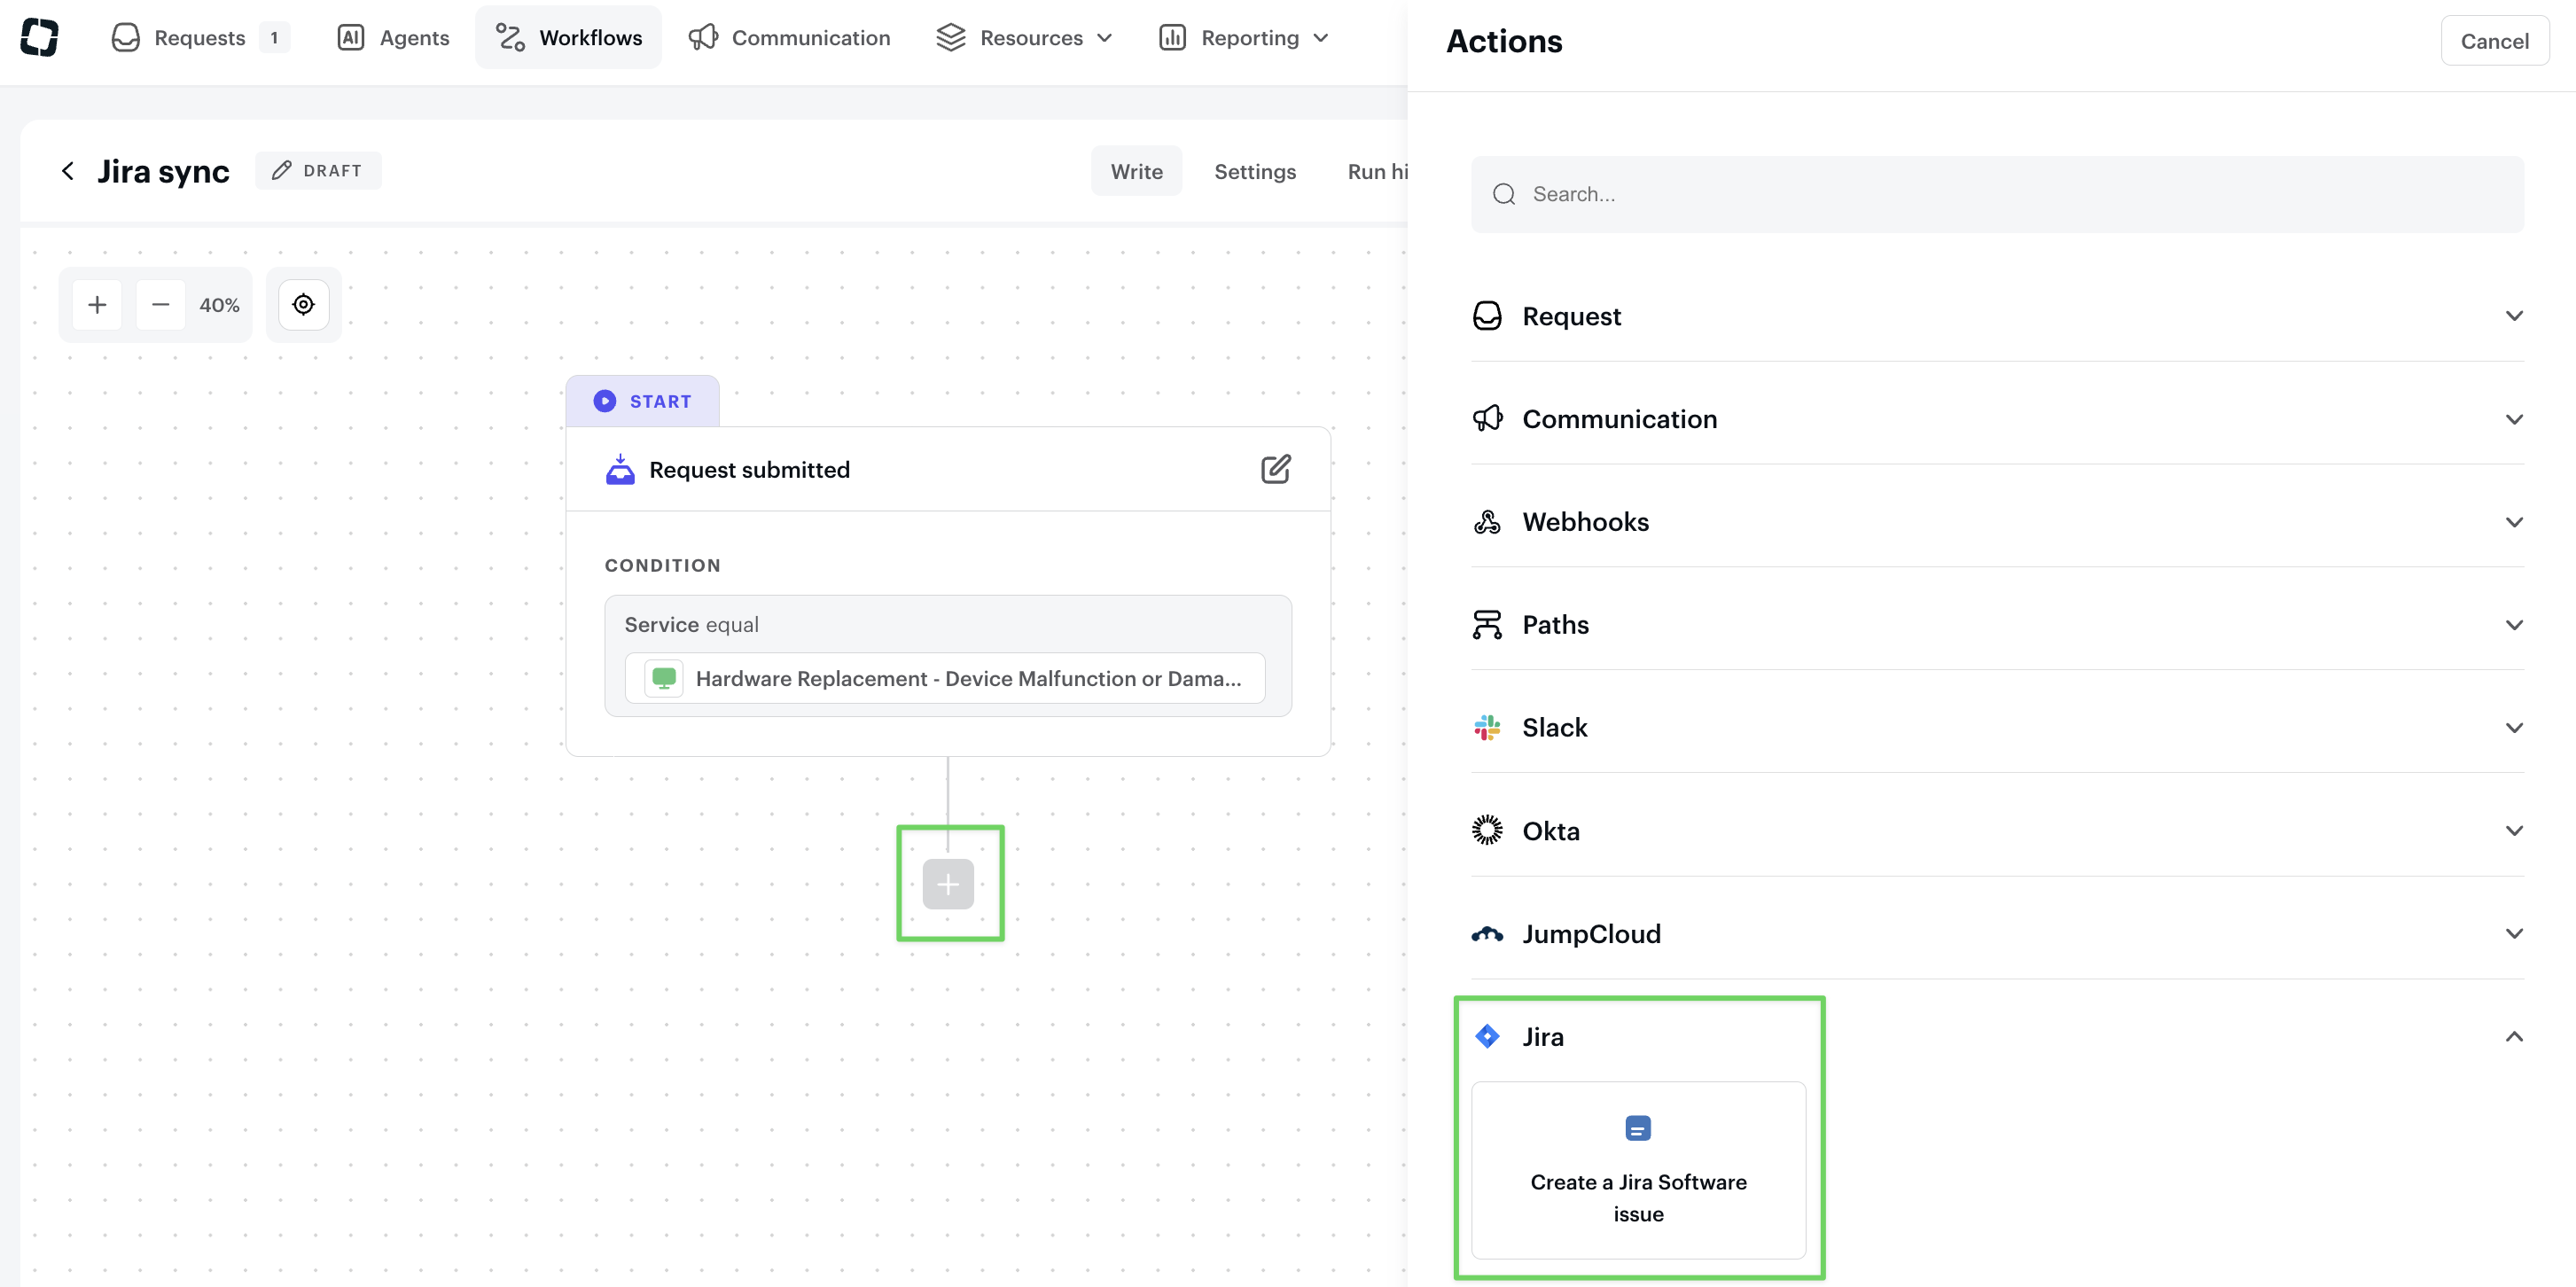
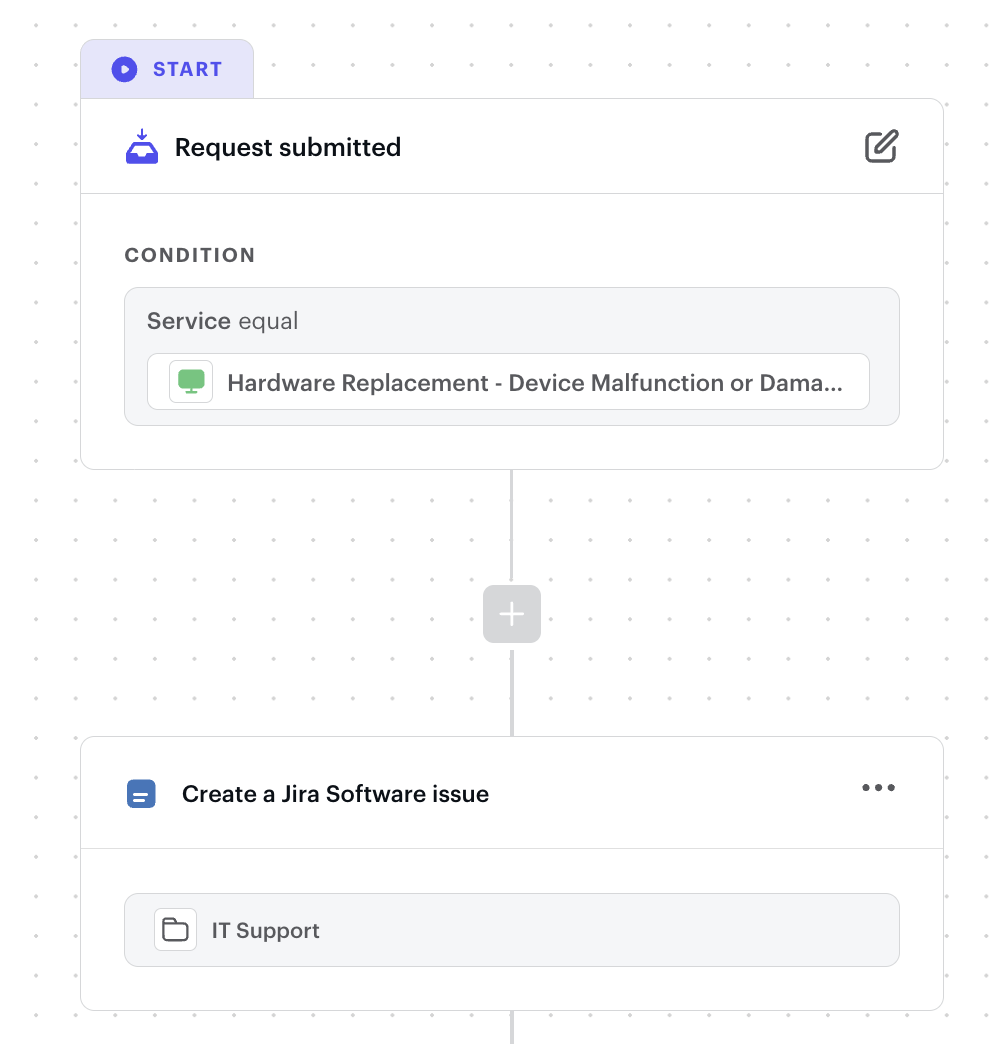
Automatic Escalation via Workflow
Recommended for scale
-
Go to Workflows
-
Add action:
-
Jira Service Management → Create Issue
-
-
Select:
-
Project
-
-
Save
Now: Whenever the workflow condition is met, A Jira issue will automatically be created.
Full Example Use Case
Scenario
-
Employees submit Finance requests in Slack
-
Only specific requests must be escalated to Global Finance in Jira
Setup
-
Create Service in Siit:
-
Customer Refund
-
-
Map:
-
Service → Jira Issue Type
-
-
Map:
-
Cost Center
-
Company Code
-
-
Create Workflow:
-
If Service = Customer Refund
→ Create Jira Issue in Finance Project
-
Result
Employee submits request in Slack
→ Siit categorizes it
→ Workflow triggers
→ Jira issue created
→ Correct Issue Type assigned
→ Mandatory fields filled
→ Finance team receives structured ticket
Common Configuration Pitfalls
Duplicate Field Values
If you see duplicate labels when mapping:
-
They may belong to different services
-
They may come from different custom fields
-
Confirm which Jira field you are mapping
We recommend clearly naming fields in Jira admin to avoid ambiguity.
Mandatory Field Errors
If issue creation fails:
-
A mandatory Jira field is likely not mapped
-
Or values do not match exactly
-
Or field type is incompatible
Trying to Copy the Jira Portal Form
The goal is not to recreate the Jira portal.
The goal is to:
-
Send the required structured data
-
In the correct Jira fields
-
With consistent naming
Best Practices
✅ Mirror Issue Types as Services
Keep naming aligned between:
-
Siit Services
-
Jira Issue Types
✅ Keep Naming Strictly Identical for Select Fields
Select values must match exactly:
-
Same capitalization
-
Same spacing
-
Same wording
✅ Confirm Field Structure with Jira Admin
Especially for:
-
CMDB fields
-
Linked fields
-
System fields renamed in UI
✅ Start Small
Test with:
-
1 project
-
1 service
-
1 mapped field
Then expand.
✅ Use Workflows for Controlled Escalation
Not all tickets should go to Jira.
Use conditions like:
-
Service equals X
-
Priority equals High
-
Department equals Finance
Advanced Considerations
-
You can map:
-
Standard fields
-
Service form answers
-
Status
-
Priority
-
-
Bi-directional status sync can be configured
-
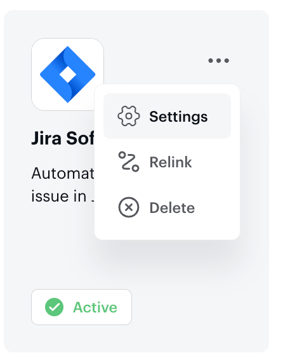
You can unlink a Jira issue from Siit if needed
Final Checklist Before Going Live
-
Jira connected
-
Services created in Siit
-
Issue Types aligned
-
Mandatory fields mapped
-
Workflow configured
-
Test ticket successfully created
-
Jira issue contains all expected data
🚀 You’re Ready
You now have a fully structured Jira escalation flow:
-
Employees use Siit as their single entry point
-
Relevant requests are escalated automatically
-
External teams receive structured, complete issues
-
No manual re-entry required